


Table of Contents
Submit the Form Below to Unlock Up to 20% Discount
A Complete Guide to Brute Force Attacks, GPL Plugin Risks, Favicon Cache Reset, Google Index Recovery, and Migrating to Next.js
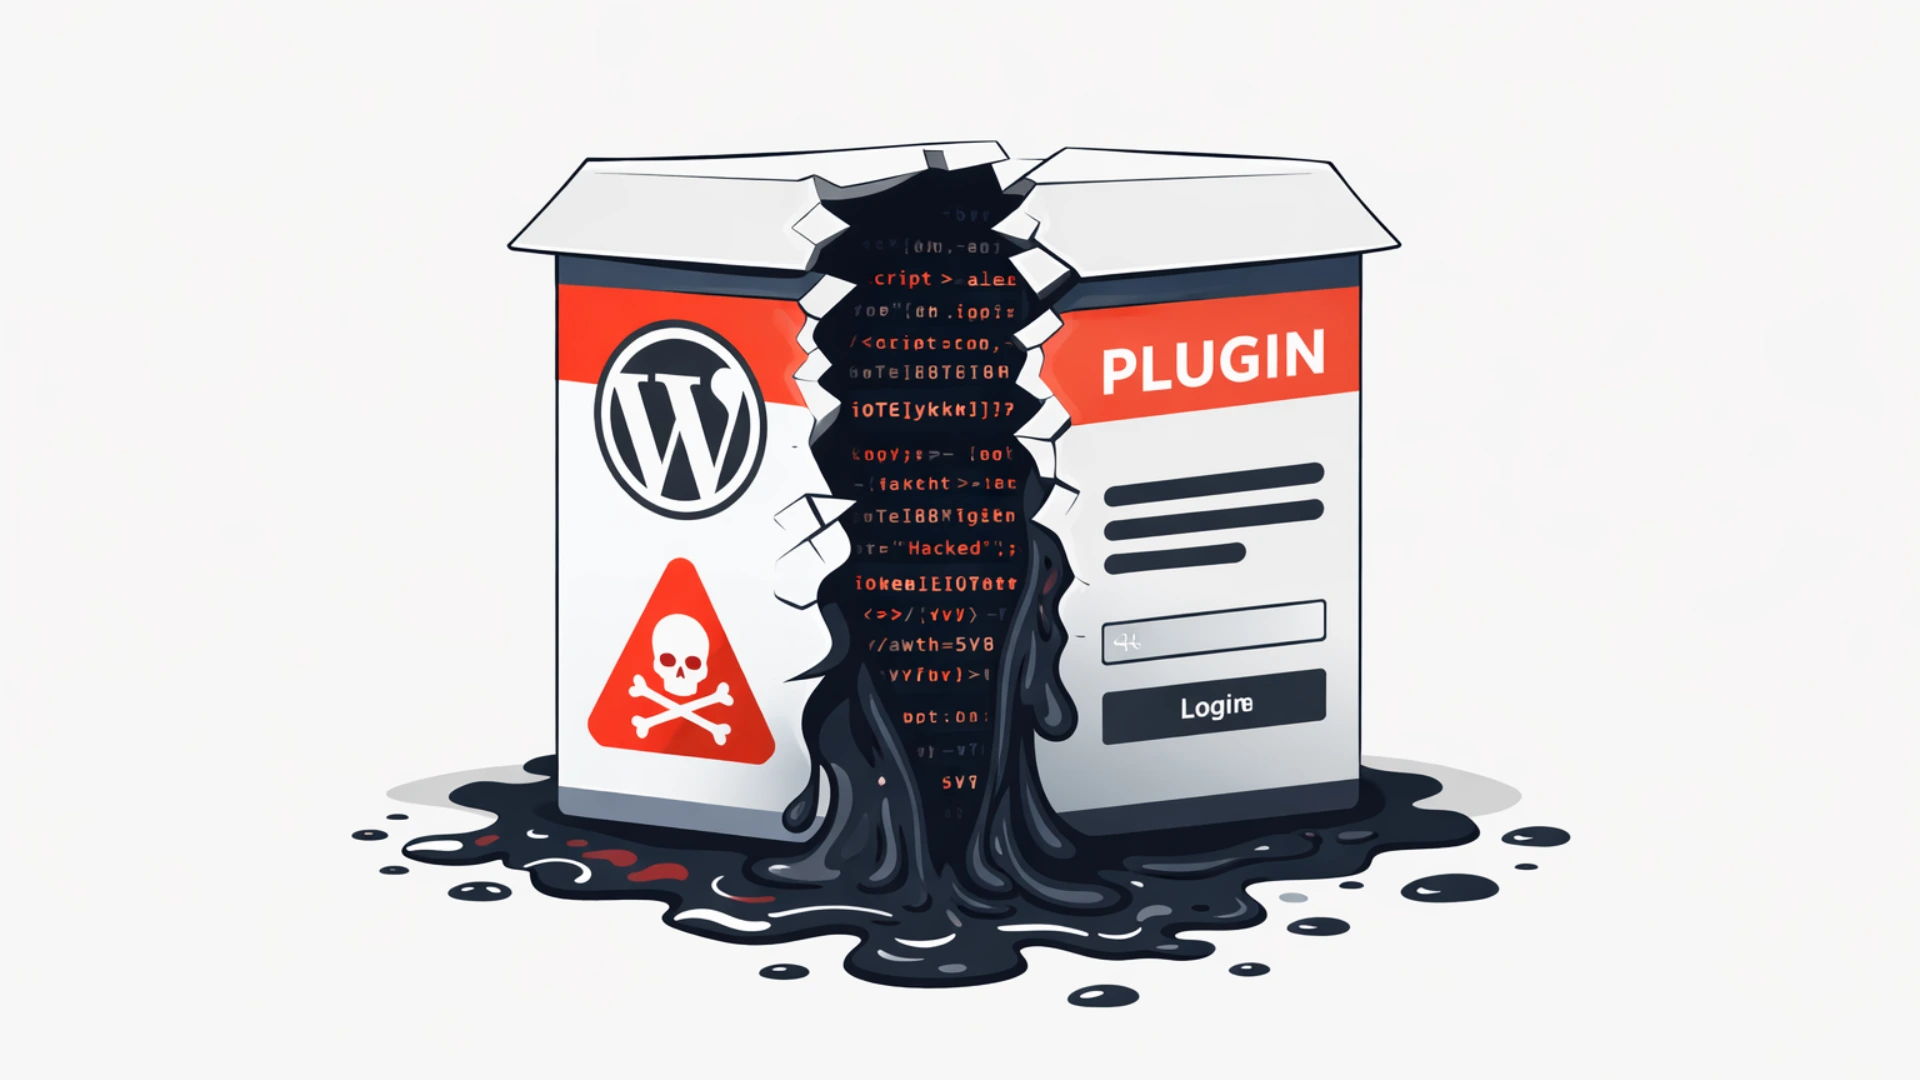
It started quietly. A gradual rise in traffic on our VPS server monitoring dashboard — nothing dramatic, just a persistent surge that had no business being there. Then came the message none of us wanted to see: our Google Search Console property had been accessed by an unknown user. And then, the final confirmation — the favicon displayed against our website in Google Search results had been silently replaced with the RIOT Games logo.
Our WordPress website had been compromised. The attack vector was a brute force attack amplified by a critical mistake we had made: we were running GPL plugins — unlicensed, redistributed versions of premium tools including Elementor Pro, RankMath Pro, Fluent Form, and the particularly dangerous File Manager plugin. This is the full story of what happened, how we recovered, and every technical step we took — including how we finally resolved the favicon not updating problem that persisted in Google Search for over two months.
We also rebuilt our entire website as a custom website development project in Next.js, leaving WordPress behind permanently. In this article, we explain exactly why — and when WordPress is the right choice and when it absolutely is not.
| Who This Article Is For Website owners running WordPress — especially with GPL plugins. Developers dealing with favicon not changing in google. Anyone whose site has been hacked. Businesses evaluating WordPress to Next.js migration. And anyone searching for a reliable custom website development company in India. |
Understanding the Brute Force Attack

A brute force attack is exactly what it sounds like: an attacker — almost always an automated bot — systematically tries thousands of username and password combinations against your website’s login endpoint until it finds one that works. There is no sophistication to it. Its effectiveness relies entirely on volume and the absence of login rate limiting on the target.
WordPress is the world’s most targeted CMS for this method, and for obvious reasons. It powers approximately 43% of all websites. Every WordPress installation shares the same default login URLs — /wp-login.php and /wp-admin — the same database structure, and the same plugin ecosystem. Attackers do not need to customise their tools per target. One automated script attacks millions of sites simultaneously.
Why Our Setup Was Particularly Vulnerable
At the time of the attack, our website’s configuration contained several compounding weaknesses:
- No login attempt limiting — our wp-admin endpoint accepted unlimited login attempts per minute with zero throttling
- No CAPTCHA on the login page — bots moved through attempts at full machine speed
- GPL plugins installed (detailed in the next section) — introduced unpatched remote code execution vulnerabilities
- Basic Cloudflare free tier only — no Web Application Firewall rules targeting brute force patterns
- VPS server with no intrusion detection or access anomaly alerting
- WordPress admin username was predictable — not randomised
The combination of an unguarded login endpoint and a GPL plugin with a known, publicly documented remote code execution vulnerability meant the attacker needed only to succeed on one of two fronts to gain full server access.
| Attack Detection Warning Unusual traffic spikes on your VPS server are the earliest visible sign of a brute force attack. Set up CPU and bandwidth alerts on your hosting panel. A spike of 3-5× your normal baseline with no corresponding increase in legitimate pageviews is a red flag that demands immediate investigation — check your access logs for repeated POST requests to /wp-login.php. |
The GPL Plugin Problem — Why ‘Free’ Was Our Most Expensive Decision
This section is the most important in the entire article. If you take nothing else away, take this: stop using GPL, nulled, or cracked plugin versions immediately. They are not a cost-saving measure. They are a direct, documented pathway to a wordpress website hacked incident.
What Are GPL Plugins?
WordPress itself is licensed under the GNU General Public License (GPL), which makes its core code open source. A frequently repeated argument is that because WordPress is GPL, any plugin built on it is also GPL and can be freely redistributed. This is a legally contested position, but the legal argument is completely irrelevant to the security discussion.
What matters is what actually happens in practice: GPL plugin distribution websites take premium plugin code and redistribute it — and in many cases, they modify it first. Those modifications are the attack. Malicious actors regularly inject backdoor PHP scripts, keyloggers, cryptocurrency miners, and remote shell scripts into nulled plugins before distributing them. When you install these on your site, you are potentially granting an attacker persistent server access from day one.
The Five Plugins We Were Running
- File Manager Plugin (GPL version) — has a widely documented CVE allowing unauthenticated remote code execution; attackers can upload malicious PHP files without any login
- Elementor Pro (GPL/nulled) — legitimate licence not purchased; receives no security update notifications
- RankMath Pro (GPL version) — same issue: outdated, permanently unpatched
- Fluent Form (GPL version) — form plugin with server-side processing capability; a significant risk if backdoored
Why GPL Plugins Cannot Be Made Safe
- They do not receive security update notifications — all known CVEs remain permanently unpatched on your installation
- Standard antivirus and malware scans often miss injected backdoors because they use obfuscation techniques that bypass signature-based detection
- You have no relationship with the original developer — their security advisories and patches never reach you
- You cannot verify the integrity of the distributed files — there is no checksum or code signing to confirm the plugin code is clean
- WordPress cannot prompt you to update them — they sit at their installed version indefinitely while new vulnerabilities are discovered and exploited
| The Rule: Pay for Software Elementor Pro costs approximately $59/year. RankMath Pro is $59/year. Fluent Form Pro is under $100/year. The cost of a single wordpress website hacked incident — in recovery time, lost revenue, Google Search Console restoration, and server rebuild — will exceed years of combined plugin subscription costs. This is not a close comparison. |
The Attack — Phase by Phase
Phase 1 — Automated Brute Force
Bots began systematically hammering our /wp-login.php endpoint. With no rate limiting, the bots fired hundreds of attempts per minute. VPS server CPU and inbound bandwidth usage climbed steadily. This was our first detectable signal — a traffic anomaly with no corresponding increase in legitimate user sessions.
Phase 2 — Exploitation of the File Manager Vulnerability
The File Manager plugin (GPL version) contains a documented unauthenticated file upload vulnerability. The attacker either succeeded at the brute force login or exploited this vulnerability directly — uploading a PHP web shell to our server. This web shell provided persistent backdoor access: even if the original entry point had been closed at this moment, the attacker could re-enter through the uploaded file indefinitely.
Phase 3 — Search Console Property Compromise
The attacker added an unknown Google account to our Google Search Console property using a previously valid verification token. Because our site had been verified using the HTML file method (a file placed in the root directory), an attacker with server file access could manipulate verification directly. The compromised Google Search Console access gave them: visibility into our full search performance data; the ability to submit manipulated sitemaps; and — most critically — the ability to request removal of pages from Google’s index, potentially dismantling years of organic SEO work.
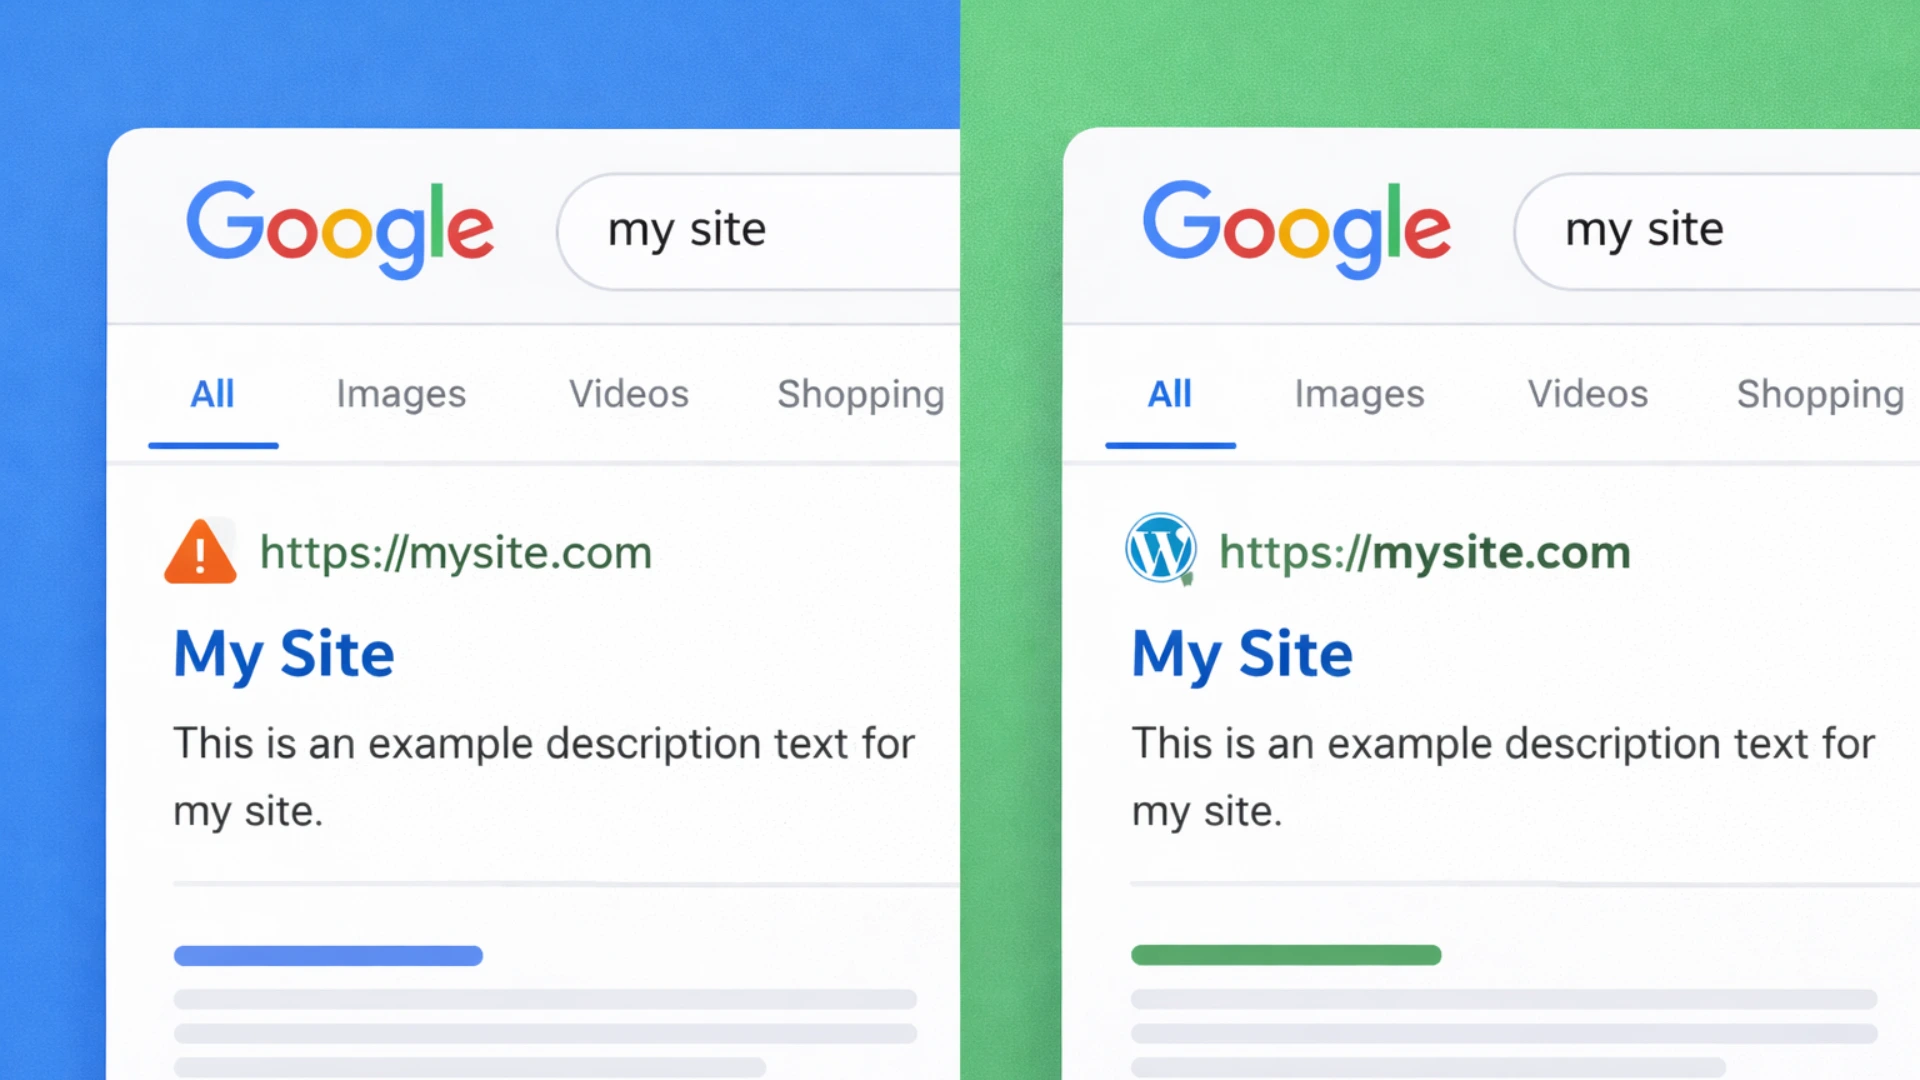
Phase 4 — Favicon Defacement in Google Search
The final, visible confirmation: our favicon in Google Search results was replaced with the RIOT Games logo. This defacement technique is used to publicly demonstrate control of a website and cause reputational harm. The reason this was particularly difficult to fix — and why it persisted for two months — is that Google’s favicon cache operates on a completely independent schedule from the live website files. Fixing your website does not clear Google’s favicon cache. We will cover the full resolution process in detail in Section 5.
The Recovery — Step-by-Step Actions We Took
Step 1: Immediate Containment
- Took the website offline immediately — stopped Google from indexing compromised pages and prevented further attacker activity
- Revoked all Google Search Console access — deleted the unknown user, rotated all verification tokens, and created a brand-new property verified via DNS verification (DNS-based verification cannot be bypassed by modifying website files, unlike the HTML file method we had previously used)
- Changed every credential: WordPress admin password, hosting control panel, FTP, database, and all associated email accounts — all different, all strong
- Revoked all active WordPress sessions and authentication tokens server-side via database
Step 2: Full Server and File Audit
- Used file timestamp comparison to identify all files modified or created after the last known-clean backup date
- Identified and deleted all backdoor PHP files and uploaded web shells
- Restored clean WordPress core files from the official WordPress.org source
- Permanently removed all GPL plugins — zero exceptions
- Audited all remaining plugin and theme files for signs of injection
Step 3: Infrastructure Decision — Rebuilding on Next.js
At this point we made the decision that the situation demanded: we would not patch and continue on WordPress. The attack had exposed architectural weaknesses — the plugin dependency model, the PHP runtime per request, the shared attack surface — that no security plugin could permanently resolve. We committed to a full custom website development rebuild in Next.js on a fresh VPS server with proper security configuration from the ground up.
Fixing the Favicon in Google Search — The Complete Guide
This section answers the question we spent two months searching for answers to: why is the favicon not updating in Google Search, and what can actually be done about it? We cover every tool, every URL, and every technique we used and tested.
Understanding Why the Favicon Persists After a Fix
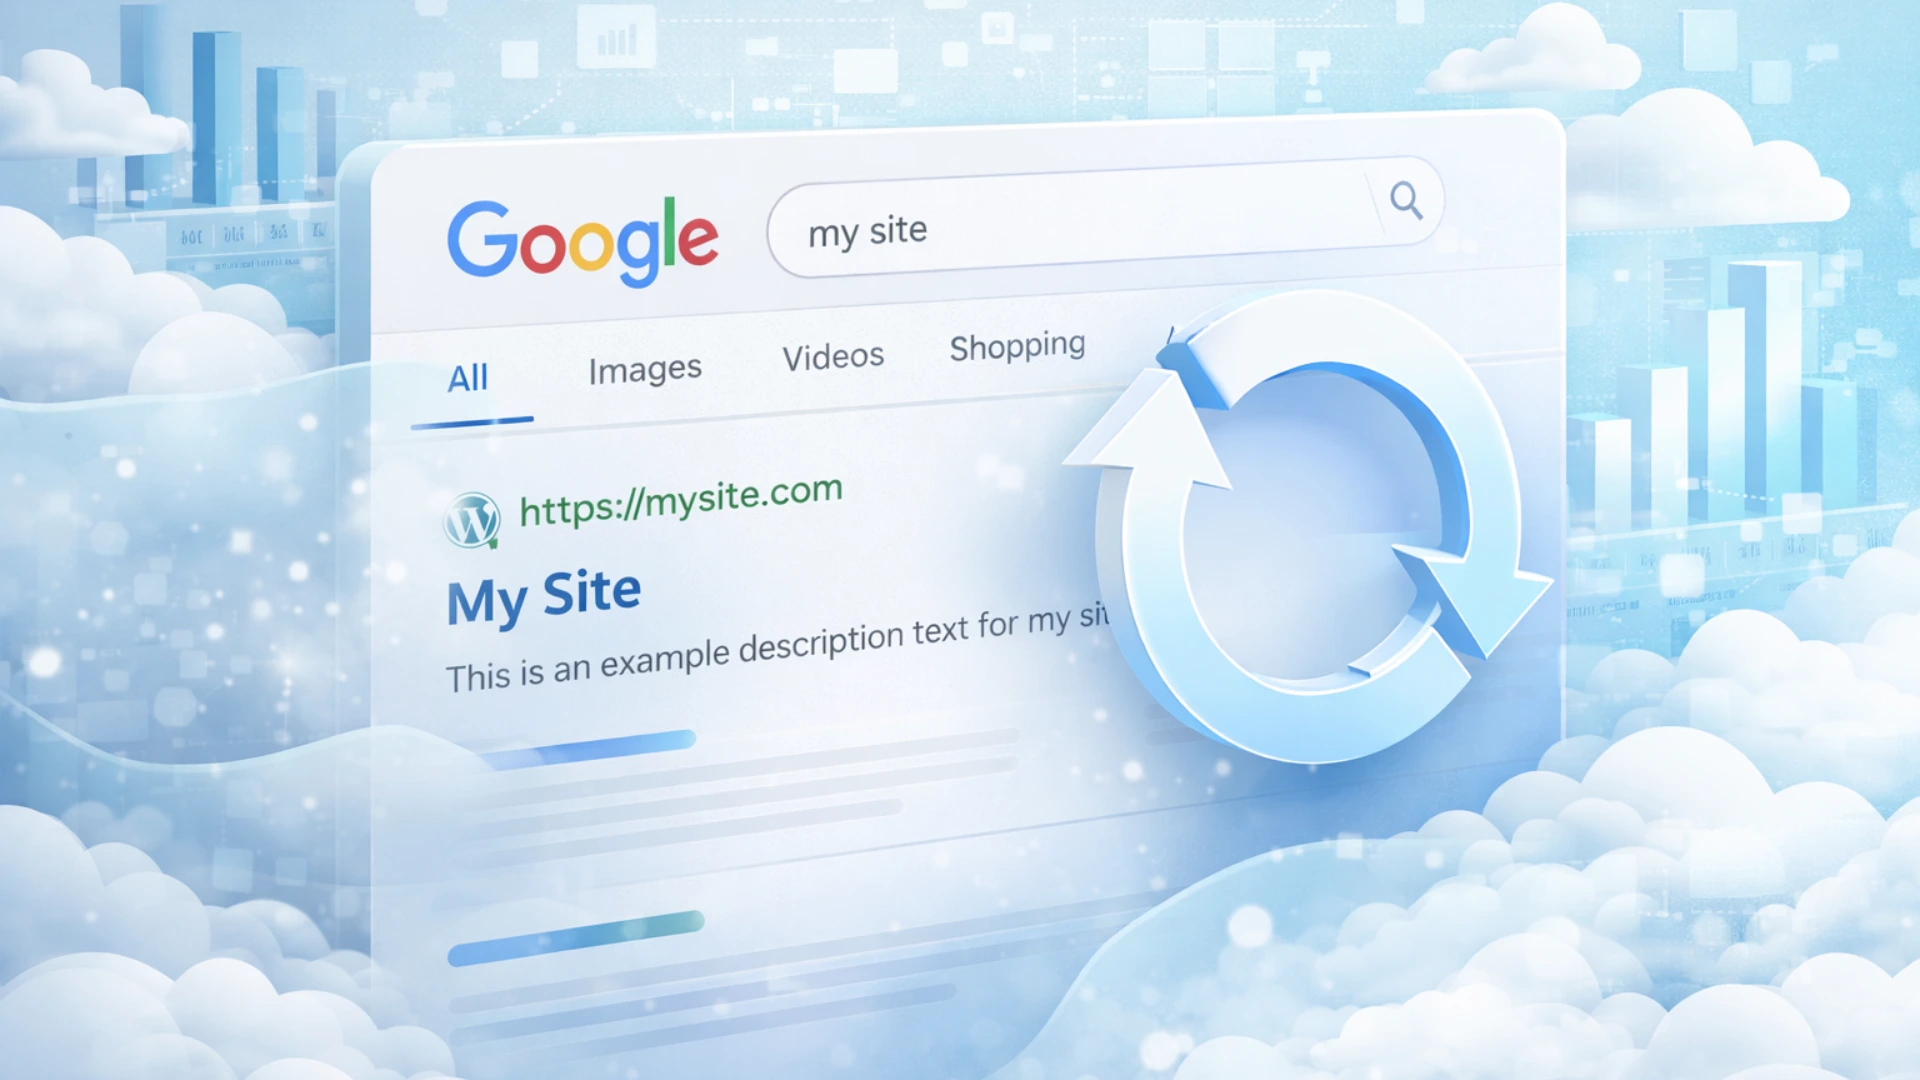
Google maintains its own favicon cache completely independent of your live website files. When Google crawls your site, it stores your favicon at its own CDN infrastructure (t1.gstatic.com). That cached copy is what appears in search results — not the live file on your server. Updating the file on your server does nothing to the cached version until Google decides to re-crawl and re-cache it.
This is why so many webmasters encounter favicon not changing in google even after fixing their site completely. The cache TTL for favicons is long — in our experience and based on documented community reports, it can range from two weeks to three months. There is no instant-purge API. But there are concrete steps that accelerate the process significantly.
| Key Fact About Google Favicon Caching Google’s favicon cache is separate from its page content cache. The URL Inspection tool in Google Search Console does queue re-crawls of favicon files when you inspect and request indexing for the favicon URL directly. This is the single most effective action available to you. |
Step 1: Check What Google Currently Has Cached
Before doing anything else, confirm what Google Search is actually displaying for your domain. Google exposes its favicon cache via a direct, publicly accessible URL:
| # Replace YOURDOMAIN.com with your actual domain:https://www.google.com/s2/favicons?domain=www.ommdigitalsolution.com&sz=128 # Parameters:# domain = your domain (test both with and without www)# sz = pixel size — use: 16 | 32 | 64 | 128 | 256 # Size variants for comprehensive testing:https://www.google.com/s2/favicons?domain=www.ommdigitalsolution.com&sz=16https://www.google.com/s2/favicons?domain=www.ommdigitalsolution.com&sz=32https://www.google.com/s2/favicons?domain=www.ommdigitalsolution.com&sz=64https://www.google.com/s2/favicons?domain=www.ommdigitalsolution.com&sz=128 # Cross-check via Google’s internal CDN (where it actually redirects):https://t1.gstatic.com/faviconV2?client=SOCIAL&type=FAVICON&fallback_opts=TYPE,SIZE,URL&url=https://www.ommdigitalsolution.com&size=64 |
Open these URLs directly in your browser. If you see your correct current favicon — ✅ Google has successfully updated its cache. If you see the old or hacked favicon (or a generic grey globe) — ❌ the cache has not updated yet and you need to proceed with the steps below.
Step 2: Use All Available Favicon Checker Tools
Beyond Google’s favicon cache URL, multiple third-party tools check different aspects of your favicon setup — from HTML markup validity to crawlability to Google SERP eligibility. Use these systematically to identify the exact point of failure:
| Tool | URL | What It Checks |
| Google S2 Favicon API | https://www.google.com/s2/favicons?domain=YOURDOMAIN.com&sz=128 | Shows exactly what Google currently has cached/indexed for your domain favicon |
| t1.gstatic.com CDN | https://t1.gstatic.com/faviconV2?client=SOCIAL&type=FAVICON&url=https://YOURDOMAIN.com&size=64 | The internal CDN URL Google redirects to — cross-check with above |
| RealFaviconGenerator | https://realfavicongenerator.net/favicon-checker | Checks 12+ platform requirements including Google SERP eligibility |
| Saijo George Checker | https://saijogeorge.com/google-favicon-checker/ | Drag-to-bookmark tool; fetches Google-cached favicon live on any page |
| FaviconCheck (TameBots) | https://faviconcheck.tamethebots.com/ | Checks markup, crawlability, size & format per Google’s official docs |
| QuickSEO Favicon Tool | https://quickseo.ai/tools/favicon-checker | Verifies Google display eligibility and HTML tag validity |
| Practical Programmatic | https://practicalprogrammatic.com/tools/favicon-checker | Checks markup tags, crawlability, size, format & robots.txt |
| SiteChecker Pro | https://sitechecker.pro | Full site audit including favicon monitoring across all pages |
| SEO Site Checkup | https://seositecheckup.com/tools/favicon-test | Quick favicon.ico presence and implementation check |
For the most comprehensive diagnosis, run your domain through RealFaviconGenerator (realfavicongenerator.net/favicon-checker) first — it checks 12 platform requirements simultaneously and is the single most informative tool available. Then cross-check with the Google S2 Favicon API URL to confirm what Google specifically has cached.
Step 3: Verify Your Favicon Meets Google’s Requirements
Google will refuse to update its cache if your favicon does not meet its technical requirements. Check each of these before requesting re-indexing:
- Square image — Google requires equal width and height
- Minimum 48×48 pixels — we recommend using 192×192 or 512×512 for best quality
- Supported formats: .ico, .png, .svg, .gif, .jpg — PNG is the safest choice
- Hosted on the same domain as the website (not a subdomain or external CDN)
- The favicon file must NOT be blocked by your robots.txt file
- The HTML link tag must appear in the <head> of the homepage only
- The favicon URL must return HTTP 200 — not a redirect, not 404
- Favicon URL should be stable — Google’s docs explicitly warn against frequently changing it
| <!– Correct favicon HTML in <head> of your homepage: –> <link rel=”icon” type=”image/png” href=”/favicon-192×192.png” sizes=”192×192″ /> <link rel=”icon” type=”image/png” href=”/favicon-96×96.png” sizes=”96×96″ /> <link rel=”icon” type=”image/png” href=”/favicon-32×32.png” sizes=”32×32″ /> <link rel=”shortcut icon” href=”/favicon.ico” /> <link rel=”apple-touch-icon” sizes=”180×180″ href=”/apple-touch-icon.png” /> <!– robots.txt — ensure favicon files are NOT blocked: –># WRONG — blocks Googlebot from crawling your favicon:Disallow: /favicon.icoDisallow: /*.png # CORRECT — no Disallow rule covering favicon paths at all |
Step 4: The New Filename Technique — Force a Cache Miss
This is the technique that worked for us at ommdigitalsolution.com. If Google keeps serving the old cached favicon because it is aggressively caching the original URL, the solution is to give it a brand-new URL it has never seen before. A URL with no cache history forces a fresh fetch.
| <!– OLD: URL Google has cached (still serving hacked favicon) –> <link rel=”icon” href=”/favicon.ico” /> <!– NEW: Completely new filename AND new path — guaranteed cache miss –> <link rel=”icon” type=”image/png” href=”/assets/icons/favicon-v2-2025.png” sizes=”192×192″ /> # What we did at ommdigitalsolution.com: # 1. Created new favicon file: /public/favicon-brand-v2.png # 2. Updated <head> link tag to new path # 3. Old favicon.ico was served 404 — Google had no cached alternative to fall back on # 4. Google crawled the new URL, cached the new image# Result: favicon updated in Google Search within the next crawl cycle |
| Important: Stable URL After Update Once you have set a new favicon URL and confirmed Google has picked it up (via the S2 favicon URL check), do NOT change the URL again. Google’s docs warn against frequent URL changes. Pick a permanent path and keep it. |
Step 5: Request Re-Indexing via Google Search Console
After updating your favicon file, submit it directly for re-crawling in Google Search Console:
- Open search.google.com/search-console and select your property
- Go to URL Inspection tool in the left sidebar
- Enter your homepage URL (e.g. https://www.ommdigitalsolution.com/) and press Enter
- Click “Request Indexing” — this queues your homepage for re-crawl
- Now enter your favicon file URL directly in the URL Inspection bar:
| https://www.ommdigitalsolution.com/favicon-brand-v2.png |
- Click “Test Live URL” — verify it returns HTTP 200 and is crawlable
- Click “Request Indexing” on the favicon URL — this queues the favicon file itself
- Submit your updated sitemap: Sitemaps → remove old sitemap → submit https://www.ommdigitalsolution.com/sitemap.xml
- Repeat the URL Inspection + Request Indexing process every 3–4 days for 2–3 weeks
| Realistic Timeline After completing all steps, the favicon not updating problem typically resolves within 2 days to 8 weeks depending on your site’s crawl frequency. Our experience at ommdigitalsolution.com was approximately 2 months. There is no instant fix — Google’s favicon cache has a long TTL by design. Consistent resubmission and using the new filename technique are the two most impactful actions available. |
Step 6: Switch to www Canonical URL if on Naked Domain
We were previously redirecting to the naked domain (ommdigitalsolution.com). As part of our migration, we switched to www.ommdigitalsolution.com as the canonical URL. This change, combined with the new Search Console property created via DNS verification, effectively signalled to Google that this was a freshly authoritative source — which appeared to accelerate the favicon cache update cycle.
| # Next.js — canonical URL in app/layout.tsx (App Router):export const metadata = { metadataBase: new URL(‘https://www.ommdigitalsolution.com’), alternates: { canonical: ‘/’ },}; # Nginx — 301 redirect naked to www:server { listen 80; server_name ommdigitalsolution.com; return 301 https://www.ommdigitalsolution.com$request_uri;} |
Resetting DNS Cache and Browser Cache — Full Guide
After recovering from a wordpress website hacked incident or completing any server migration, there are three independent cache layers that need to be addressed. Fixing one without the others creates a confusing experience where some visitors see old data while others see the new site.
| The Three Cache Layers Layer 1 — Google Index Cache: What Google shows in search results (covered in Section 5) Layer 2 — DNS Cache: How your domain resolves to an IP address — critical after server migration Layer 3 — Browser Cache: The local copy your visitors’ browsers store — affects favicon in tabs and bookmarks |
Layer 2: Flushing DNS Cache
DNS cache stores the mapping between your domain name and your server’s IP address. After migrating to a new VPS server (as we did), DNS changes take time to propagate globally — typically 1–48 hours, though TTL settings affect this. Until propagation completes, some visitors are directed to the old server.
How to Check DNS Propagation Status
Use these online tools to see how your domain is resolving from servers worldwide:
- https://dnschecker.org — shows resolution from 50+ global DNS servers simultaneously
- https://www.whatsmydns.net — real-time propagation map, supports A, CNAME, MX, TXT records
- https://dnspropagation.net — clean interface, useful for quick checks
Command-line DNS lookup:
| # Windows: nslookup www.ommdigitalsolution.comipconfig /displaydns # Mac / Linux: dig www.ommdigitalsolution.comnslookup www.ommdigitalsolution.com |
How to Flush Local DNS Cache on Your Own Computer
This clears your own machine’s DNS cache so it fetches fresh DNS records immediately instead of using cached old ones:
| # ── Windows (run Command Prompt as Administrator) ────ipconfig /flushdns # ── macOS (Ventura / Sonoma / Sequoia) ────sudo dscacheutil -flushcache; sudo killall -HUP mDNSResponder # ── macOS (Monterey and older) ────sudo killall -HUP mDNSResponder # ── Linux (Ubuntu / Debian with systemd-resolved) ─────sudo systemd-resolve –flush-caches# or:sudo /etc/init.d/nscd restart # ── Android ──# Toggle Airplane Mode OFF → ON (simplest method)# Or: Settings → Connections → More → Reset Network Settings # ── iOS (iPhone / iPad) ──# Toggle Airplane Mode OFF → ON# Or: Settings → General → Transfer or Reset → Reset → Reset Network Settings |
Purging DNS / CDN Cache in Cloudflare
Since ommdigitalsolution.com uses Cloudflare, we also needed to purge Cloudflare’s edge cache after the migration to ensure visitors got the new server’s responses:
| # Via Cloudflare Dashboard (no-code method): 1. Log in to https://dash.cloudflare.com 2. Select your domain 3. Go to: Caching → Configuration → Purge Cache 4. Click ‘Purge Everything’ OR enter specific URLs to purge (homepage + favicon URLs) # Via Cloudflare API (for automation): curl -X POST “https://api.cloudflare.com/client/v4/zones/{ZONE_ID}/purge_cache” \ -H “Authorization: Bearer YOUR_API_TOKEN” \ -H “Content-Type: application/json” \ –data ‘{“files”:[“https://www.ommdigitalsolution.com/”,”https://www.ommdigitalsolution.com/favicon-brand-v2.png”]}’ |
Layer 3: Clearing Browser Cache
Even after Google’s favicon cache updates and DNS propagates correctly, individual visitors may still see old favicon versions in their browser tabs and bookmarks until their browser cache expires. This layer is the least controllable — you cannot clear your users’ browsers remotely. But you can control how long their browsers cache your files using HTTP headers.
How Visitors Clear Their Own Browser Cache
| # ── Chrome (Windows / Linux) ───────────────── # Hard reload (this page only): Ctrl + Shift + R Clear all cache: Ctrl + Shift + Delete → Cached images and files → Clear # ── Chrome (Mac) ────────────── # Hard reload: Cmd + Shift + R Clear cache: Cmd + Shift + Delete # ── Firefox ───────────────────── # Ctrl + Shift + Delete → Cache → Clear Now # ── Safari (Mac) ────────────── Develop menu → Empty Caches (shortcut: Cmd + Option + E)Enable Develop menu: Safari → Preferences → Advanced → Show Develop menu # ── Microsoft Edge ────────────────── # Ctrl + Shift + Delete → Cached images and files → Clear now # ── Mobile Chrome (Android) ───────────────── # Settings → Privacy and security → Clear browsing data → Cached images and files |
The Right Fix: Control Cache TTL via HTTP Headers (Server-Side)
The proper long-term solution is to set short browser cache TTL values for your favicon files so that when you update them, visitors pick up the new version quickly without needing to manually clear cache:
| # ── Next.js (next.config.js) ────────────────────────────────────────────// next.config.jsmodule.exports = { async headers() { return [ { source: ‘/favicon.ico’, headers: [{ key: ‘Cache-Control’, value: ‘public, max-age=3600, must-revalidate’ }], }, { source: ‘/:path*.png’, headers: [{ key: ‘Cache-Control’, value: ‘public, max-age=86400, stale-while-revalidate=3600’ }], }, ]; },}; # ── Apache (.htaccess) ───────────────────────────────────────────────────<FilesMatch “\.(ico|png)$”> Header set Cache-Control “max-age=3600, must-revalidate”</FilesMatch> # ── Nginx (nginx.conf) ───────────────────────────────────────────────────location ~* \.(ico|png)$ { expires 1h; add_header Cache-Control “public, must-revalidate”;} # max-age=3600 = 1 hour. Short enough that updates propagate same day.# After your favicon is stable for 6+ months, you can raise to 86400 (1 day). |
| # ── Cloudflare Cache Rules (no-code method) ─────────────────────────────1. Cloudflare Dashboard → Rules → Cache Rules2. Create New Rule: If: URI Path contains ‘/favicon’ Then: Edge Cache TTL → 1 hour Browser Cache TTL → 1 hour3. Save and Deploy # This applies to all Cloudflare-proxied requests regardless of server headers. |
WordPress vs Custom Development — When to Use What
Our wordpress website hacked experience was the catalyst for this decision, but it was not the only reason we moved away. WordPress had been showing its architectural limitations for some time. Here is our fully honest assessment.

When WordPress Is the Right Choice ✅
- Portfolio websites — freelancers, photographers, artists, small creative agencies
- Small brochure sites — 5–15 pages, infrequent updates, non-technical owner needs easy CMS
- Simple blogs — content-first, straightforward content management
- Budget-constrained projects with tight timelines where speed of deployment is the priority
- Client self-management — where the client must make content changes independently without developer involvement
For these use cases, WordPress with legitimate paid plugins, a lightweight theme, proper Cloudflare configuration, and basic security hardening is a valid, cost-effective solution. It is not going away and remains the right tool for specific, well-defined use cases.
When WordPress Is NOT the Right Choice ❌

- Ecommerce website with large product catalogues — WooCommerce creates serious performance bottlenecks and security challenges at scale; a dedicated ecommerce website development in Next.js or React is the right answer
- Large data-heavy websites — complex content relationships, custom data structures, advanced filtering
- Business-critical platforms where a security breach causes direct financial loss or reputational damage
- Web applications — real-time features, complex authentication flows, custom data processing
- SaaS platforms or multi-tenant applications
- Any site where budget forces GPL plugins — this is a website security disaster waiting to happen; invest in proper custom website development instead
| Factor | WordPress | Next.js / Custom Development |
| Security | High attack surface, plugin CVEs, GPL risks | Minimal — full control, no plugin ecosystem |
| Performance | Needs caching plugins to compete | SSG/ISR by design — better Core Web Vitals |
| Scalability | Degrades at scale; WooCommerce worst | Scales cleanly with proper architecture |
| Maintenance | Constant plugin/theme update cycle | You control every update |
| Long-term Cost | Low start, high breach/recovery risk | Higher upfront, lower total cost of ownership |
| SEO | Good with RankMath/Yoast plugins | Full technical SEO control built-in |
| Flexibility | Limited by WordPress architecture | Build exactly what is needed |
| Launch Speed | Days to weeks | Weeks to months |
| GPL Risk | Critical — entire ecosystem dependent | None — custom codebase only |
| Best For | Blogs, portfolios, small brochure sites | Business apps, ecommerce, SaaS, data-heavy |
Why We Chose Next.js for Our Rebuild
- No plugin ecosystem means no plugin vulnerabilities — every feature is deliberate and custom-built
- Static Site Generation (SSG) pre-renders pages as HTML — no PHP execution per request, dramatically reduced attack surface
- Full control over the entire codebase — nothing we did not explicitly write runs on our server
- Core Web Vitals scores improved dramatically post-migration
- API routes built into the framework — backend functionality without a separate server
- Clean Cloudflare and VPS server integration with fine-grained control
| Our Position WordPress is best for small, simple, content-focused websites — portfolios, blogs, brochure sites. For anything business-critical, data-heavy, or where security is non-negotiable: custom website development with Next.js, React, or modern PHP is the correct and only defensible choice. |
10-Point Security Checklist — Apply Before You Need It

- Never use GPL, nulled, or cracked plugins — pay for legitimate licences or find a genuine free alternative. No exceptions.
- Limit login attempts on WordPress — rate-limit the /wp-login.php endpoint at the server level (nginx/Apache) or use a legitimate security plugin
- Enable two-factor authentication (2FA) on all WordPress admin accounts and your hosting control panel
- Use strong, unique passwords for every credential — WordPress admin, FTP, database, hosting panel, all different, all strong
- Keep WordPress core, themes, and all plugins updated at all times — unpatched CVEs are the primary attack vector
- Use DNS verification in Google Search Console — cannot be bypassed by file manipulation unlike HTML file verification
- Set up server access logging and anomaly alerts on your VPS server — detect brute force attacks before they succeed
- Use a Web Application Firewall — Cloudflare paid plans offer significantly better protection than the free tier for blocking automated attacks
- Automated off-server backups — daily snapshots to independent storage; test restoration quarterly
- After any compromise: rebuild on fresh infrastructure. Our move to a new VPS server was non-negotiable after the hack. Cleaning in-place leaves residual risk.
How OMM Digital Solution Can Help?
We are not selling website security as an abstract service. We have lived through a wordpress website hacked incident ourselves — the brute force attack, the stolen Google Search Console access, the two-month favicon not updating problem, the full server rebuild. Every service we offer is grounded in that direct experience.
Our Services
- Custom Website Development in Next.js, React, and modern PHP — built with security and performance as foundations from day one, not afterthoughts
- WordPress to Next.js Migration — full migration: content export, URL mapping, SEO continuity, server configuration, and DNS verification setup
- Website Security Audit — complete review of plugins, user permissions, server configuration, DNS settings, Cloudflare rules, and Google Search Console access
- Post-Hack Recovery — damage assessment, malware removal, Google Search Console restoration, favicon cache reset, infrastructure rebuild
- VPS Server Setup and Hardening — security defaults, firewall rules, intrusion detection, rate limiting, access logging
- SEO Recovery After Hack — Search Console reverification, sitemap resubmission, canonical URL correction, favicon checker audit, Google cache reset process management
- Ecommerce Website Development in Next.js — the right architecture for high-traffic, high-security stores
| Work With Us We built ommdigitalsolution.com itself on Next.js after our WordPress experience. We use the same stack, the same security practices, and the same infrastructure we recommend to every client. Visit www.ommdigitalsolution.com — we offer a free initial consultation for all new projects. |
Conclusion: Protect Your Website Before It Forces You To
A wordpress website hacked incident is not just a technical problem. It is a direct threat to your brand, your revenue, your clients’ trust, and months or years of SEO investment. Our experience at ommdigitalsolution.com forced us to confront every architectural assumption we had made — and rebuild better.
The conclusions are clear: stop using GPL plugins and nulled plugins immediately. If you stay on WordPress, harden it properly — legitimate software, two-factor authentication (2FA), VPS server security, WAF, and DNS verification in Search Console. And honestly assess whether WordPress is the right platform for your needs in the first place.
For ecommerce websites, complex business platforms, or anything security-sensitive — custom website development with Next.js, React, or modern PHP is the correct choice. The total cost of ownership over three to five years, factoring in security, performance, and maintenance, is almost always lower than WordPress at scale.
If you need help with website security, are stuck with a favicon not updating problem, need a Google cache reset for your domain, or want to start a WordPress to Next.js migration — OMM Digital Solution is here. We have done this ourselves. We know exactly what it takes.
OMM Digital Solution
Custom Web Development | Website Security | Next.js & React | Post-Hack Recovery
www.ommdigitalsolution.com
